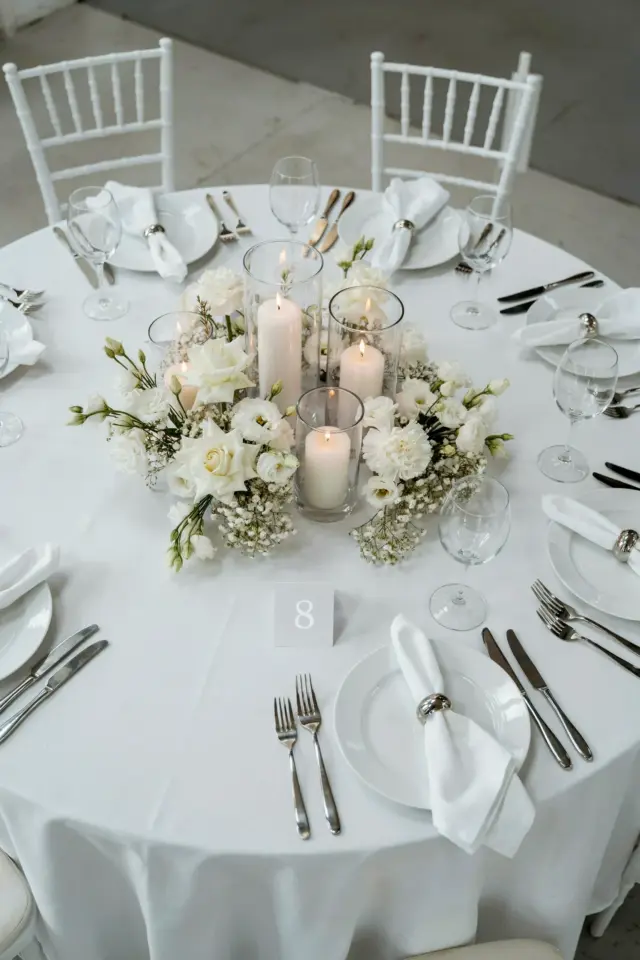
I cannot tell you how many dinner parties I have started prepping for, only to stare at the stack of plain white plates and wonder how to make them look special. Then I discovered the easiest dinner party table setting trick I have ever learned: layering plates and napkins. Seriously. You take a charger, add a dinner plate, and slide a folded napkin in between. That is it. The whole table suddenly has depth, texture, and a quiet kind of elegance that looks like you spent hours. But you didn’t. And honestly, that is the whole point.
Why layering plates and napkins works so well for tabletop styling
Here is the thing. A flat table setting is boring. One plate per person, one fork, one glass. It feels like a cafeteria, not a dinner party. But when you add that extra layer a charger plate underneath, a napkin peeking out between the charger and the dinner plate the eye has something to travel across. It creates a sense of richness without clutter. I learned this from a friend who used to work as a stylist for catalog shoots. She said layering is the cheapest way to add perceived value. She was right.
Texture matters too. A glossy dinner plate against a matte stoneware charger, with a linen napkin in a contrasting fold. That contrast is what makes your tabletop styling look intentional. It stops being just plates on a table and starts being a composition. And composition is the difference between okay and wow. So do not skip the napkin between the layers. That little strip of fabric changes everything.
Choosing the right charger plates for your tablesetting
Not gonna lie, charger plates can be confusing. Are they necessary? No. Do they make a difference? Yes, a big one. But you do not need expensive ones. I have used cheap rattan placemats as chargers and they worked beautifully. I have also used thrifted brass trays. The key is size. Your charger should be noticeably larger than your dinner plate, usually by about two to three inches all the way around. If the charger is too small it looks like a mistake.
Also consider the material. Here is a short list of charger options that work well for dinner party decor:
- Rattan or woven seagrass (adds natural warmth, great for casual gatherings)
- Matte ceramic or stoneware (neutral, heavy, quiet elegance)
- Glossy metallic (gold or copper for a more glamorous tablesetting)
- Glass or mirrored (reflects candlelight beautifully but shows every fingerprint)
- Wood slices (rustic, unexpected, cheap if you get them from a craft store)
My personal favorite is a dark matte stoneware charger. It does not compete with the food. It just sits there, doing its job, and the napkin pops against it like a little flag of color.
How to fold a napkin for elegance between the layers
Ok so now we get to the napkin. The napkin is the secret weapon here. You are going to fold it and place it between the charger and the dinner plate so that about an inch or two of folded fabric is visible. What kind of fold? It depends on the vibe. For a clean modern look do a simple rectangle fold. Lay the napkin flat, fold it in half, then fold it in half again. That gives you a neat square. Then place it diagonally or straight depending on your plate shape.
But if you want something a little more interesting try a pocket fold. Fold the napkin in half, then fold the top layer down about a third of the way. Flip it over and fold the sides in. You get this little envelope shape where you could tuck a sprig of rosemary or a name card. Honestly it takes thirty seconds once you practice it twice. I once spent an entire afternoon trying to master a complicated fan fold and it looked terrible. The pocket fold? Foolproof. And it adds that slight sculptural element that dinner party decor needs.
Mixing matte and glossy plates for contrasting tabletop decor
This is the trick that really dials up the visual interest. Use a matte charger and a glossy dinner plate. Or the reverse. The difference in finish catches the light in different ways. Not too much, just enough so that the eye registers two distinct surfaces. I like a matte black charger with a glossy white dinner plate. It feels crisp, a little dramatic, but still neutral enough that any tablecloth or centerpiece works.
Another combination I have used: a glossy dark blue charger (almost lacquered) with a matte beige ceramic dinner plate. The beige feels soft, the blue feels rich. And the napkin in between can be a cream linen or a sage cotton. Look, the contrast does not have to be extreme. Even a slight difference in sheen is enough. The point is to avoid having everything the same finish because that flattens the whole look. That is the mistake most people make. All one glaze, all one texture. It is safe but dull.
One weird thing I noticed: if you use a glossy charger and a glossy dinner plate, the napkin tends to get lost visually. The reflection overpowers the fabric. So keep one layer matte. Always.
Step by step: building your easy dinner party table setting layers
Let me walk you through the exact order I use now. It is a small sequence that I repeat for every seat. First, place the charger plate directly on the table or on a placemat if you want an extra layer. Second, take your folded napkin and position it on top of the charger. Not dead center. Offset it slightly toward the left or right side. Why? Because the dinner plate will cover most of the center anyway. By offsetting the napkin you create a visible triangular shape of fabric at the edge of the charger.
Third, place the dinner plate on top, making sure it covers the middle of the napkin but leaves that little flap of fabric sticking out. The dinner plate should sit centered on the charger. Fourth, add your salad plate or soup bowl if you are using one. I often skip that extra plate unless I am serving multiple courses. One charger, one dinner plate, one napkin peeking out. That is enough. Anything more and it starts to feel crowded.
Fifth, add your flatware. Put the fork on the left, knife on the right, spoon to the right of the knife. Simple. And place the water glass above the knife. Done. I time myself. It takes about forty-five seconds per place setting once you have the rhythm. That is nothing. That is the time you save by not doing origami napkin folds.
Quick tips for napkin placement and texture in entertaining ideas
I have a mild obsession with napkin fabric. Not gonna lie, I own way too many sets. But here is my specific opinion: avoid paper napkins for a seated dinner party. They feel flimsy and they wrinkle weirdly when you try to fold them. Use cloth. Linen is best because it has a natural slub and does not slide around. Cotton is fine too but it needs to be ironed or it looks sloppy. And please, no polyester blends. They feel plasticky and they do not hold a fold.
Another small thing: the napkin color. Do not match it exactly to the plates. That is too uniform. Choose a color that echoes something else on the table maybe the flowers or the candles. Or go with a neutral that is one shade lighter or darker than the charger. I once used a deep rust napkin with a matte gray charger and white dinner plates. Everyone complimented the color combination. It was pure accident. But now I know that rust works with nearly any neutral.
Also consider the fold direction. If you place the napkin diagonally on a round charger, the folded edge creates a dynamic line. If you place it straight, it feels more formal and stable. Both work. Just pick one and commit. Do not second-guess yourself halfway through setting the table.
Dinner party table setting on a budget with layering
You do not need to buy a full set of new dishes. Honestly, layering hides a lot of flaws. If your dinner plates are mismatched, layering them on identical chargers unifies the look. And chargers themselves can be found at thrift stores for a dollar or two. I have a collection of old brass chargers that I sanded lightly and spray painted matte black. Cost me about seven dollars total. They look custom.
Another budget move: use napkins you already own but fold them in a different way. A new fold is free. And you can use placemats as chargers if they are large enough. Just cut them to shape with sharp scissors. I did that with a set of woven placemats that were too small for my table width. I trimmed them into circles roughly ten inches across. They looked intentional. Nobody knew they were hacked from placemats.
And here is my weird little aside: I have a mild frustration with charger plates that are too lightweight. They slide around when you reach for the water glass. So if you find cheap chargers at a dollar store, glue a small piece of felt or rubber drawer liner to the bottom. Fixed. No more sliding. That tiny detail makes your table setting feel sturdy and considered. And it costs pennies.
The whole point of this trick is that you can do it tonight. Grab a charger or a substitute. Fold a napkin. Layer them. See how the table looks different. It is not fancy. It is just smart. And your guests will notice even if they cannot name why the table feels so put together. So next time you host, save yourself the complex Pinterest projects and just layer. You will be surprised what a difference it makes.
#tablesetting #dinnerpartydecor #tabletopstyling #entertainingideas #napkinfolding
This post was researched and drafted with AI assistance, then personally reviewed and edited by Fern before publishing.
Leave a Comment